
Did you ever buy a photography magazine and become enthusiastic about an article, eager to try the techniques for yourself?? You want to get the same results, only to read the equipment the photographer used, finding out that you’ll need a couple of thousand dollars to buy it all, and it’s not even cheap used on ebay.
While I do have way too much equipment, there are some fixes that are a little bit cheaper and easier, and generate more than acceptable results, especially with a little post-click work in the editing phase.
The current digital SLR cameras have ridiculously high ISO capabilities, and equally incredible resolution. Just a few years ago, an 8MP camera was something to be bowed down to; now it’s almost scoffed at with 36MP cameras available.
If, like me, you want to take photographs of relatively small creatures, including fairly slow moving invertebrates, you can buy macro lenses, extension tubes, reversing rings and other expensive options. However, a reasonable way to go, and something I’ve used for photos I’ve sold around the world, is to use magnifying filters.
All you have to do is head off to ebay, find the camera filter section, and type in close up set, and you’ll find all manner of close-up filters from name brands such as Vivitar, in all kinds of lens sizes. A set of four (+1, +2, +4 and +10) will cost you in the $10 region, and they are worth every cent.
The filters simply screw on to the front of your camera, and can even be stacked, so you can put a +10 and a +4 together to make a reasonably powerful magnifier. If you do use them, there are a few tips to bear in mind.
If you’re shooting from above the surface of the water, have a friend let you know when you’re about to stick your lens in the water. It happens and I’ve done it. Not a good idea when an expensive lens meets salt water.
The closer you get to the subject, the more detail you’ll get, but the depth of field will be reduced. If you have a good camera with lots of resolution, zoom out a little, which will increase the depth of field, and then do your zooming in of the subject when you crop in Photoshop. This is particularly useful as a technique because these filters are good but not perfect, and sometimes the edges of your image may not be as perfect as the center. You may also experience a little vignetting, where the edges are a little darker. Sure, you can take care of this a little in Photoshop, but if your image is good enough, at a decent resolution and reasonably low ISO, you can crop in a lot easier than you can fix the edges.
Where possible, use manual settings. It allows you to get up to an f-stop of around 11 or 16 to improve the depth of field on the critter you’re photographing. Obviously, to compensate you’ll be dropping the shutter speed. A general rule of thumb is to not drop below your focal length, so if you’re using a zoom at 50mm, don’t drop your shutter speed below 1/50. If you find that f11 or f/16 means you’re shooting at 1/30 second, simply bump your ISO up and see if you are getting the right results. It also depends on the subject. A sea urchin isn’t moving at the rate a fish is.
The beauty of digital photography is that you can try, delete and try again and, if you’re shooting a sea star, it’s not going to run away on you. Even if the resulting image is a tad dark, you can do some editing to make it look amazing, and I’ll show some examples of playing with light in the next article.
Here are some images, at low resolution unfortunately to put into the post, of shots taken with close-up filters, along with the relevant information on each:
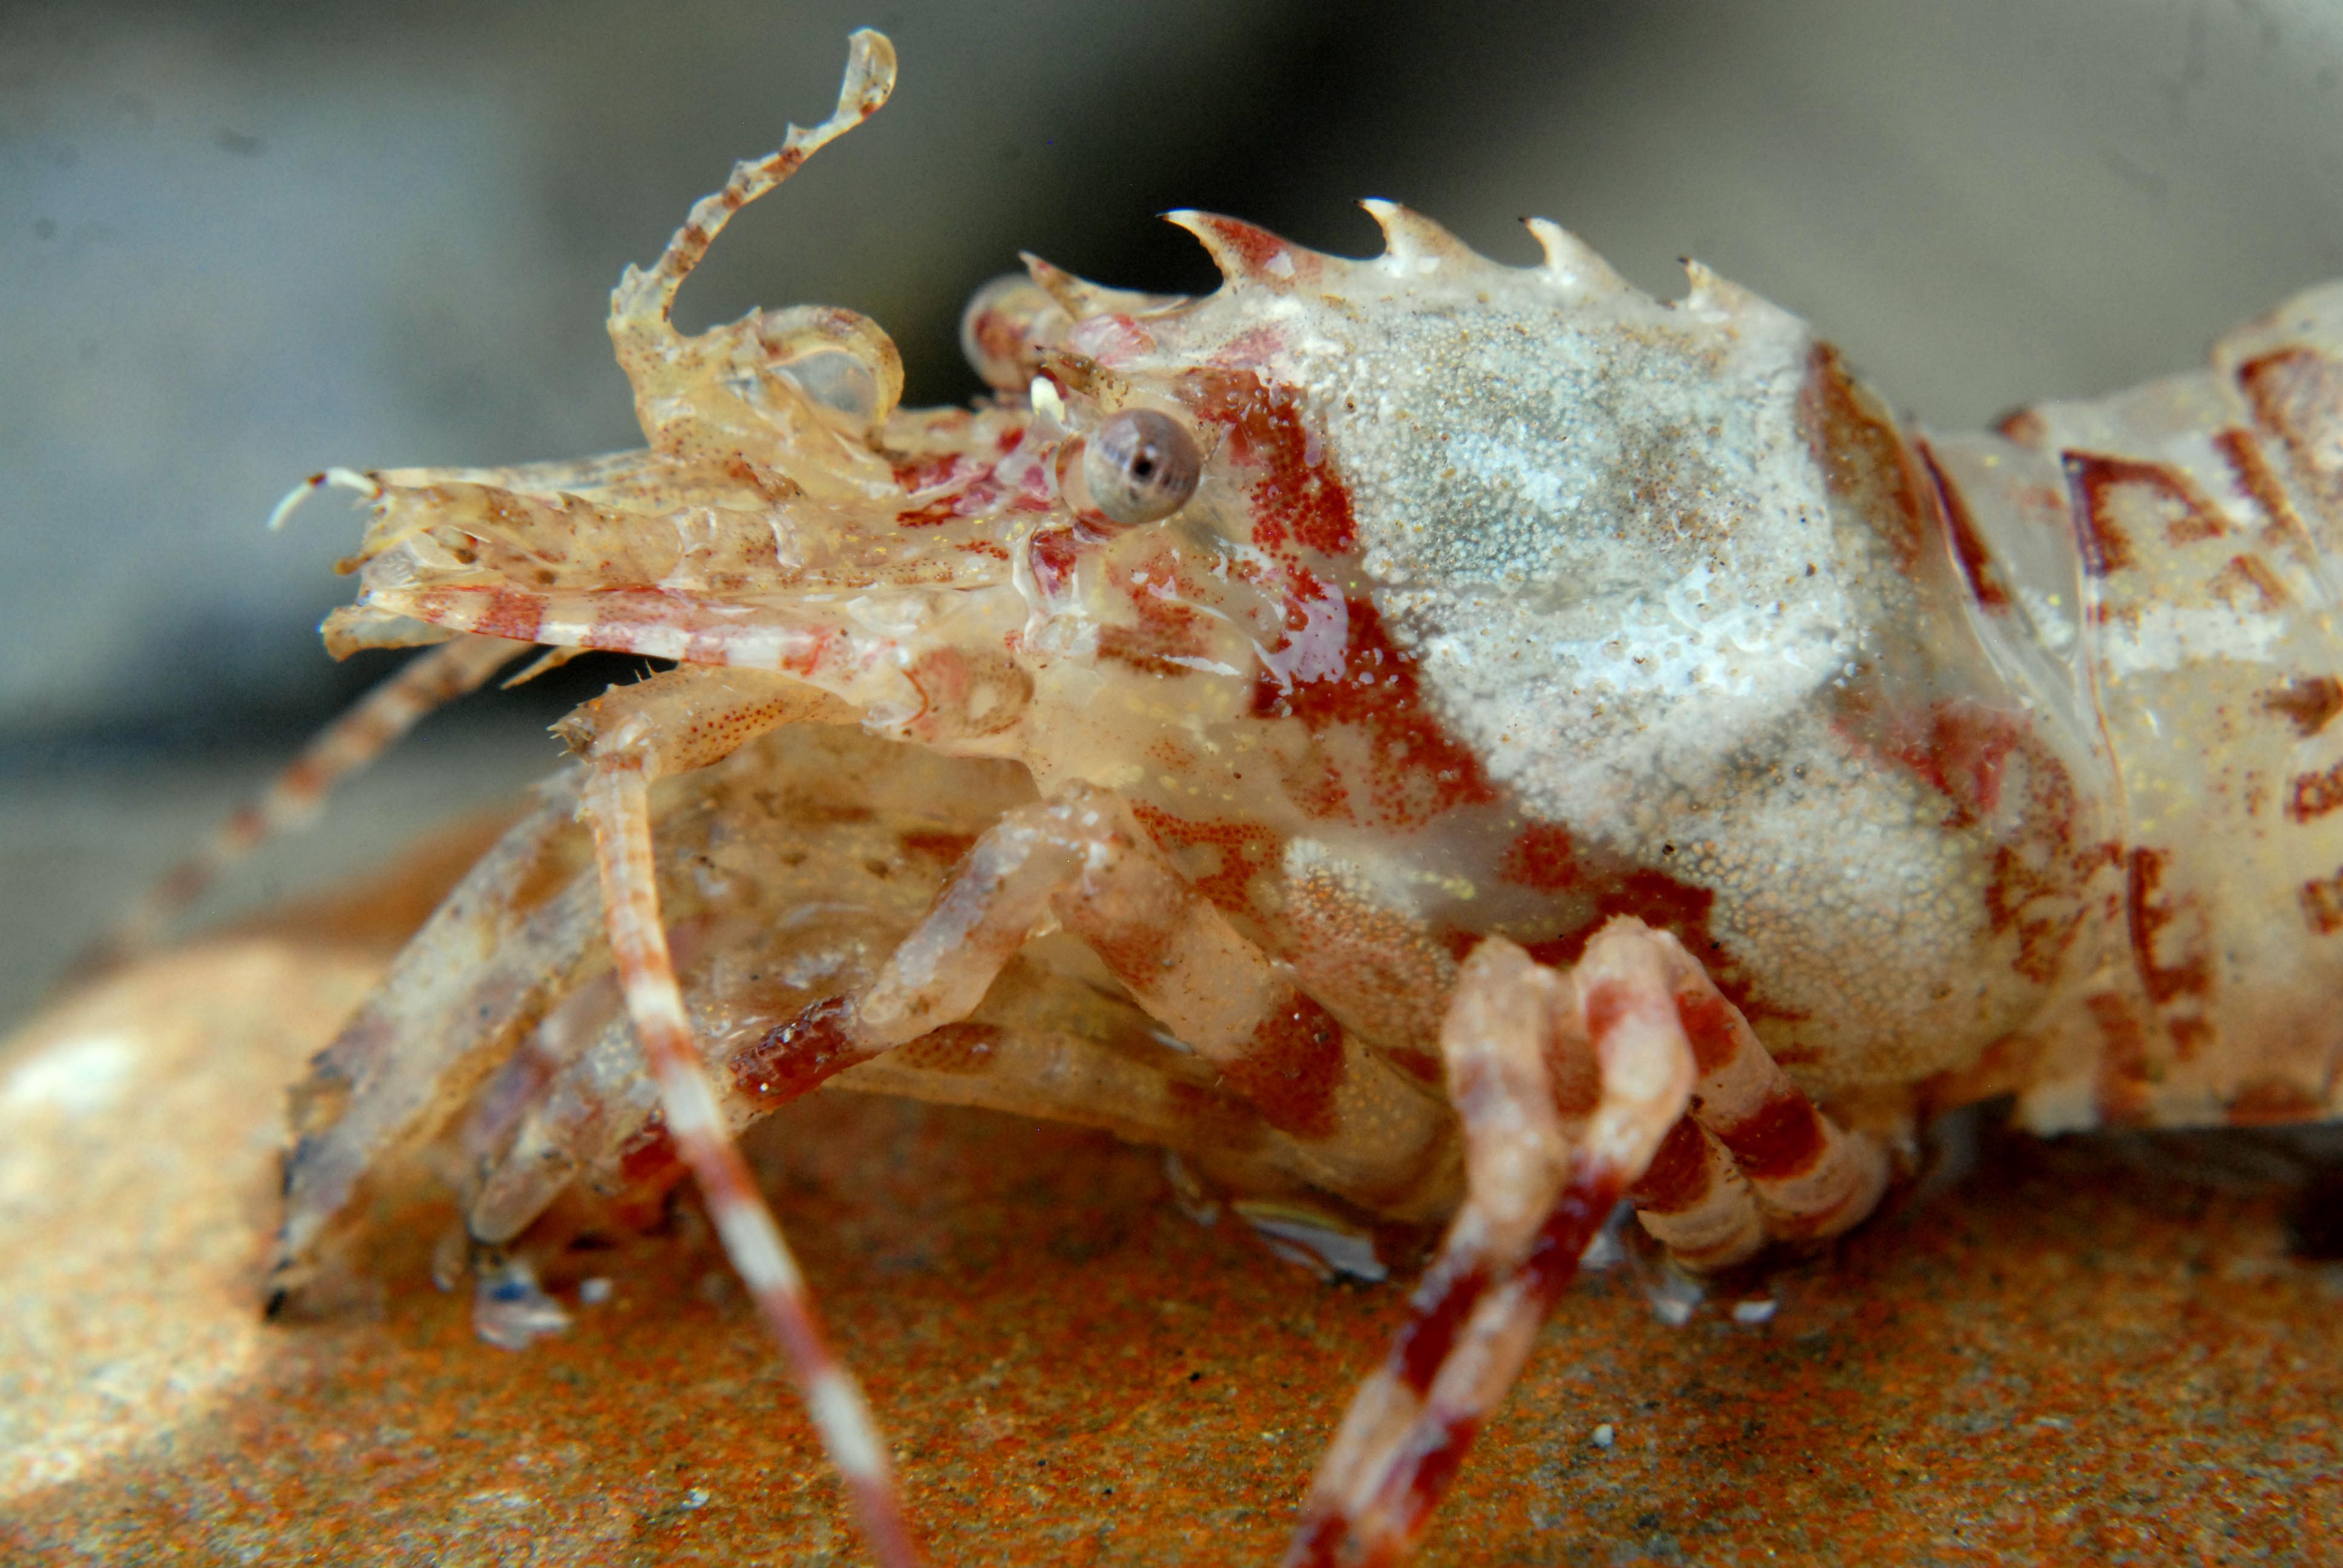
Shrimp with two stacked filters, +4 and +2, 400ISO, f/11, 1/60 sec.
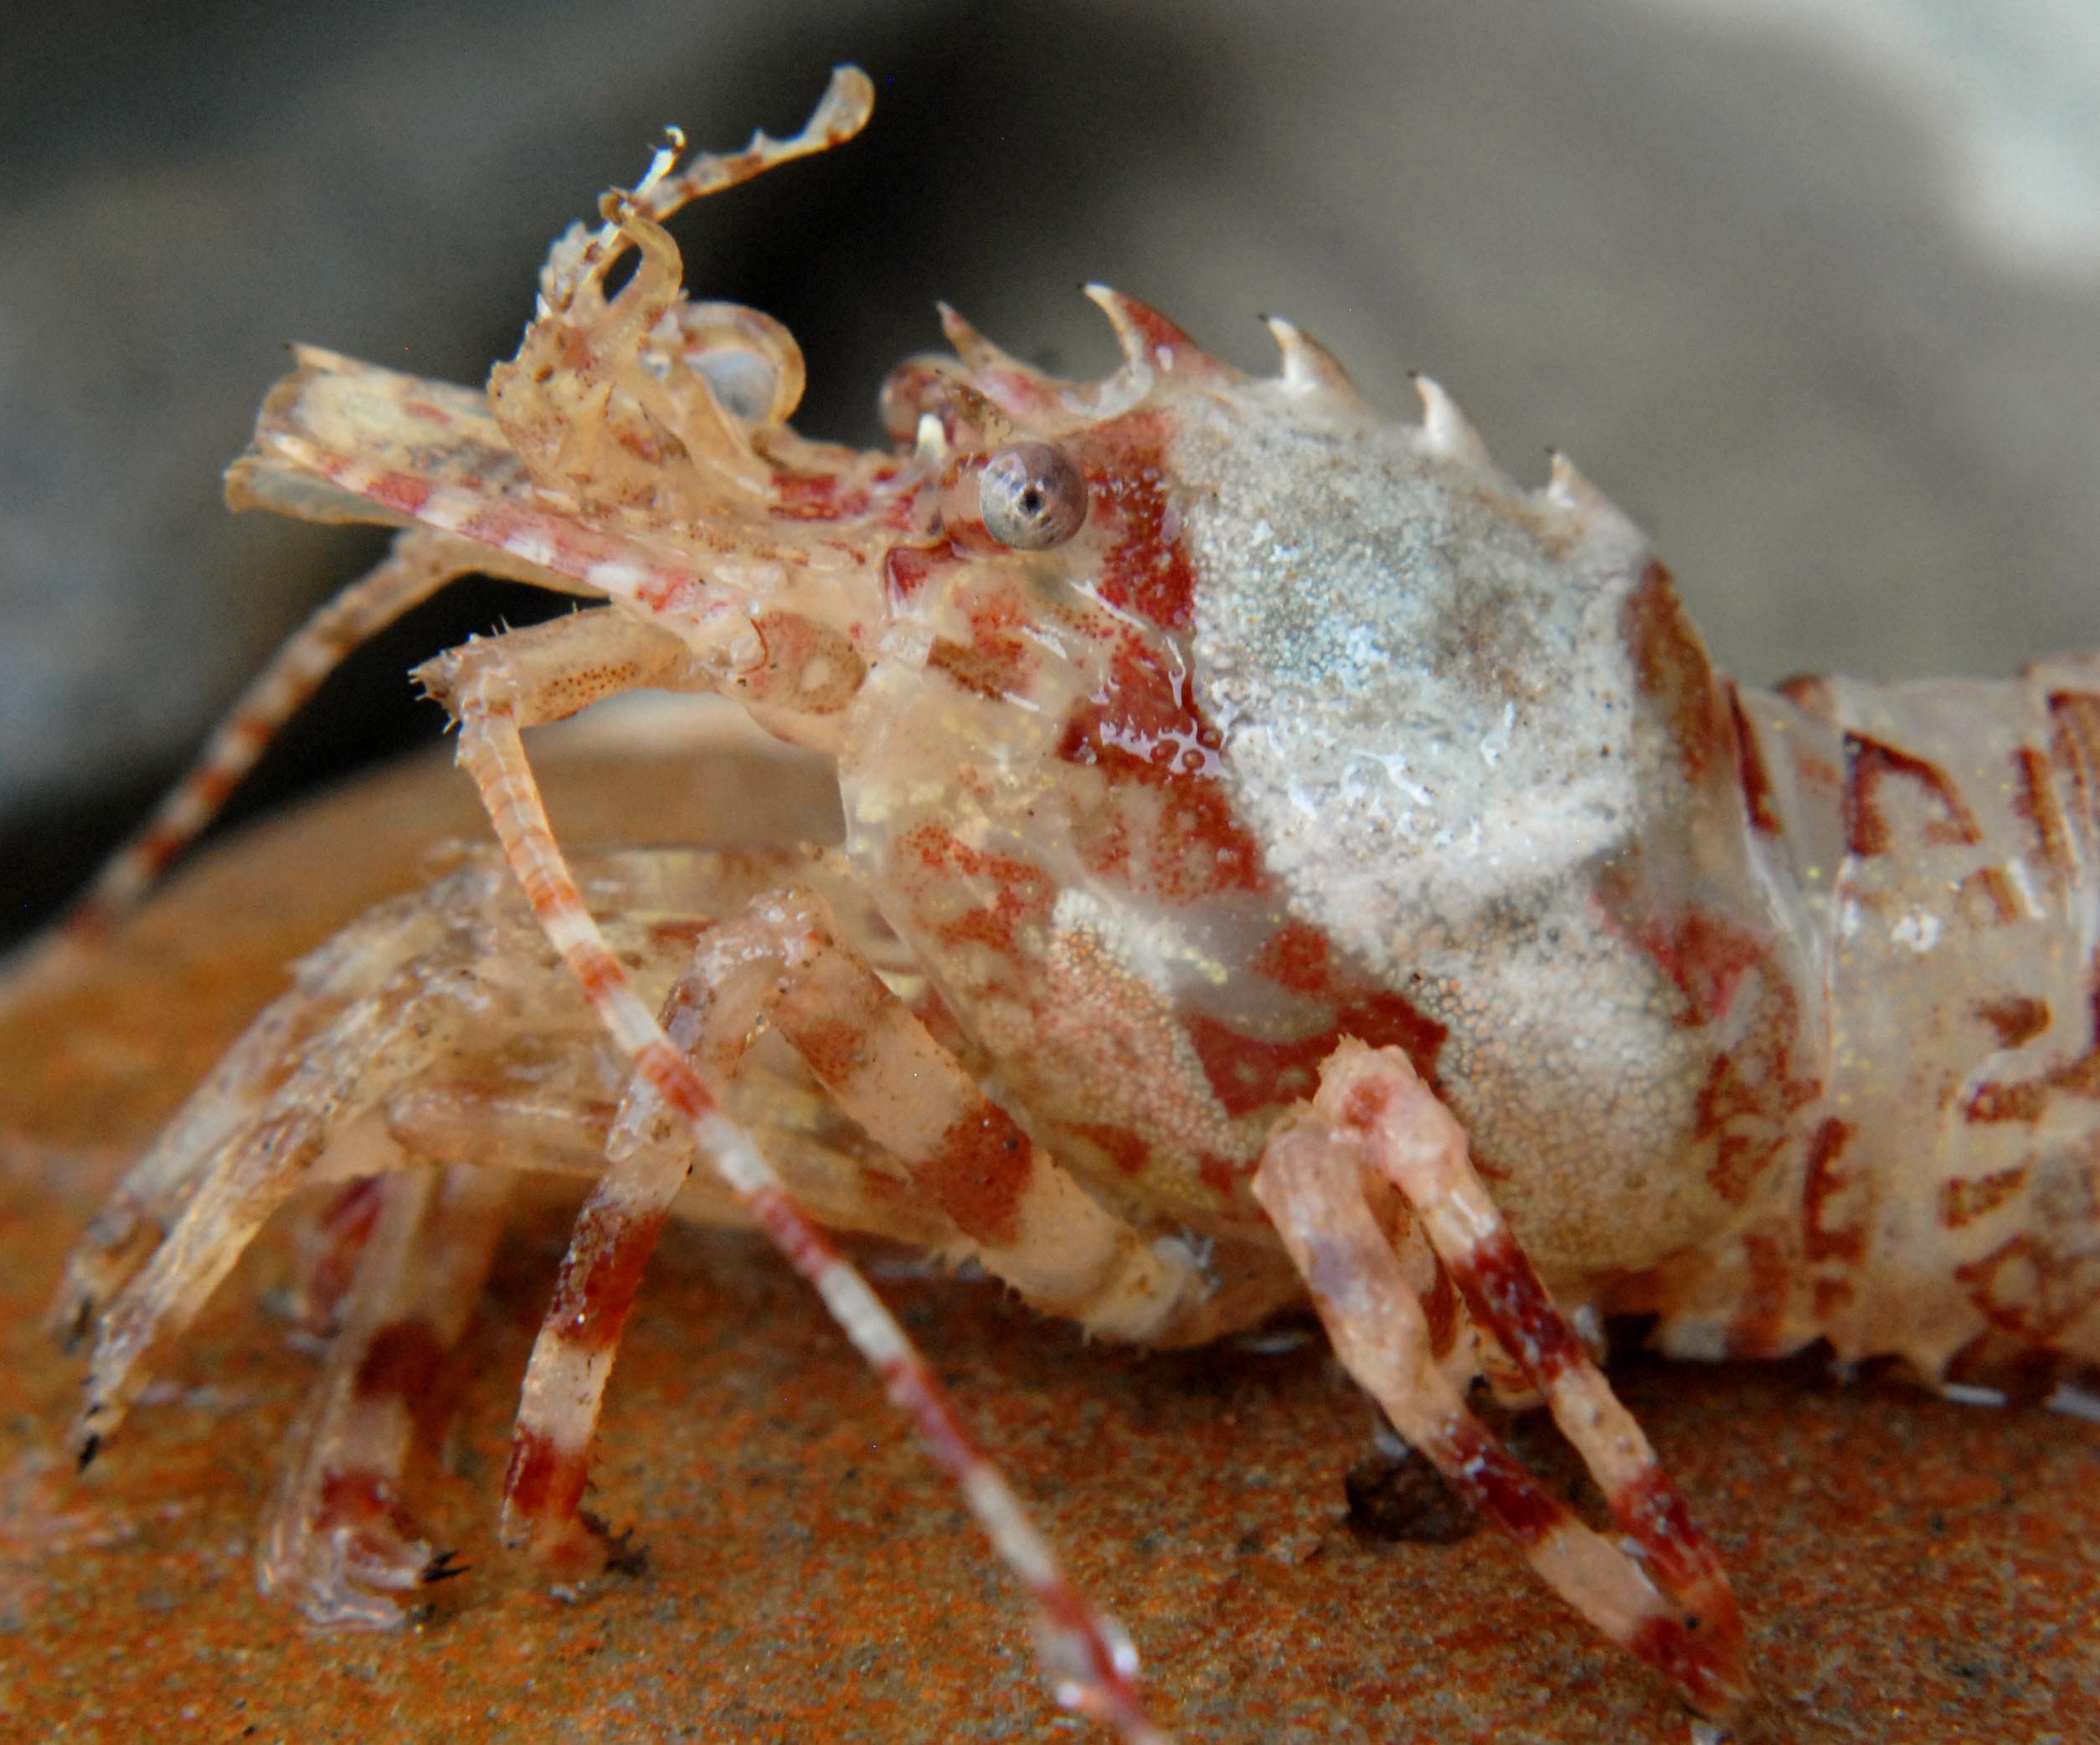
This time, I used only a +4, took a picture of the entire critter, and then cropped to the same size as the previous. It’s got slightly more depth of field, and because it’s not zoomed in so much, the settings are ISO200, f/11, 1/125 sec.
![]()
This feeding sea cucumber is shot using a +4 filter, at ISO800, f11 and 1/60 sec.
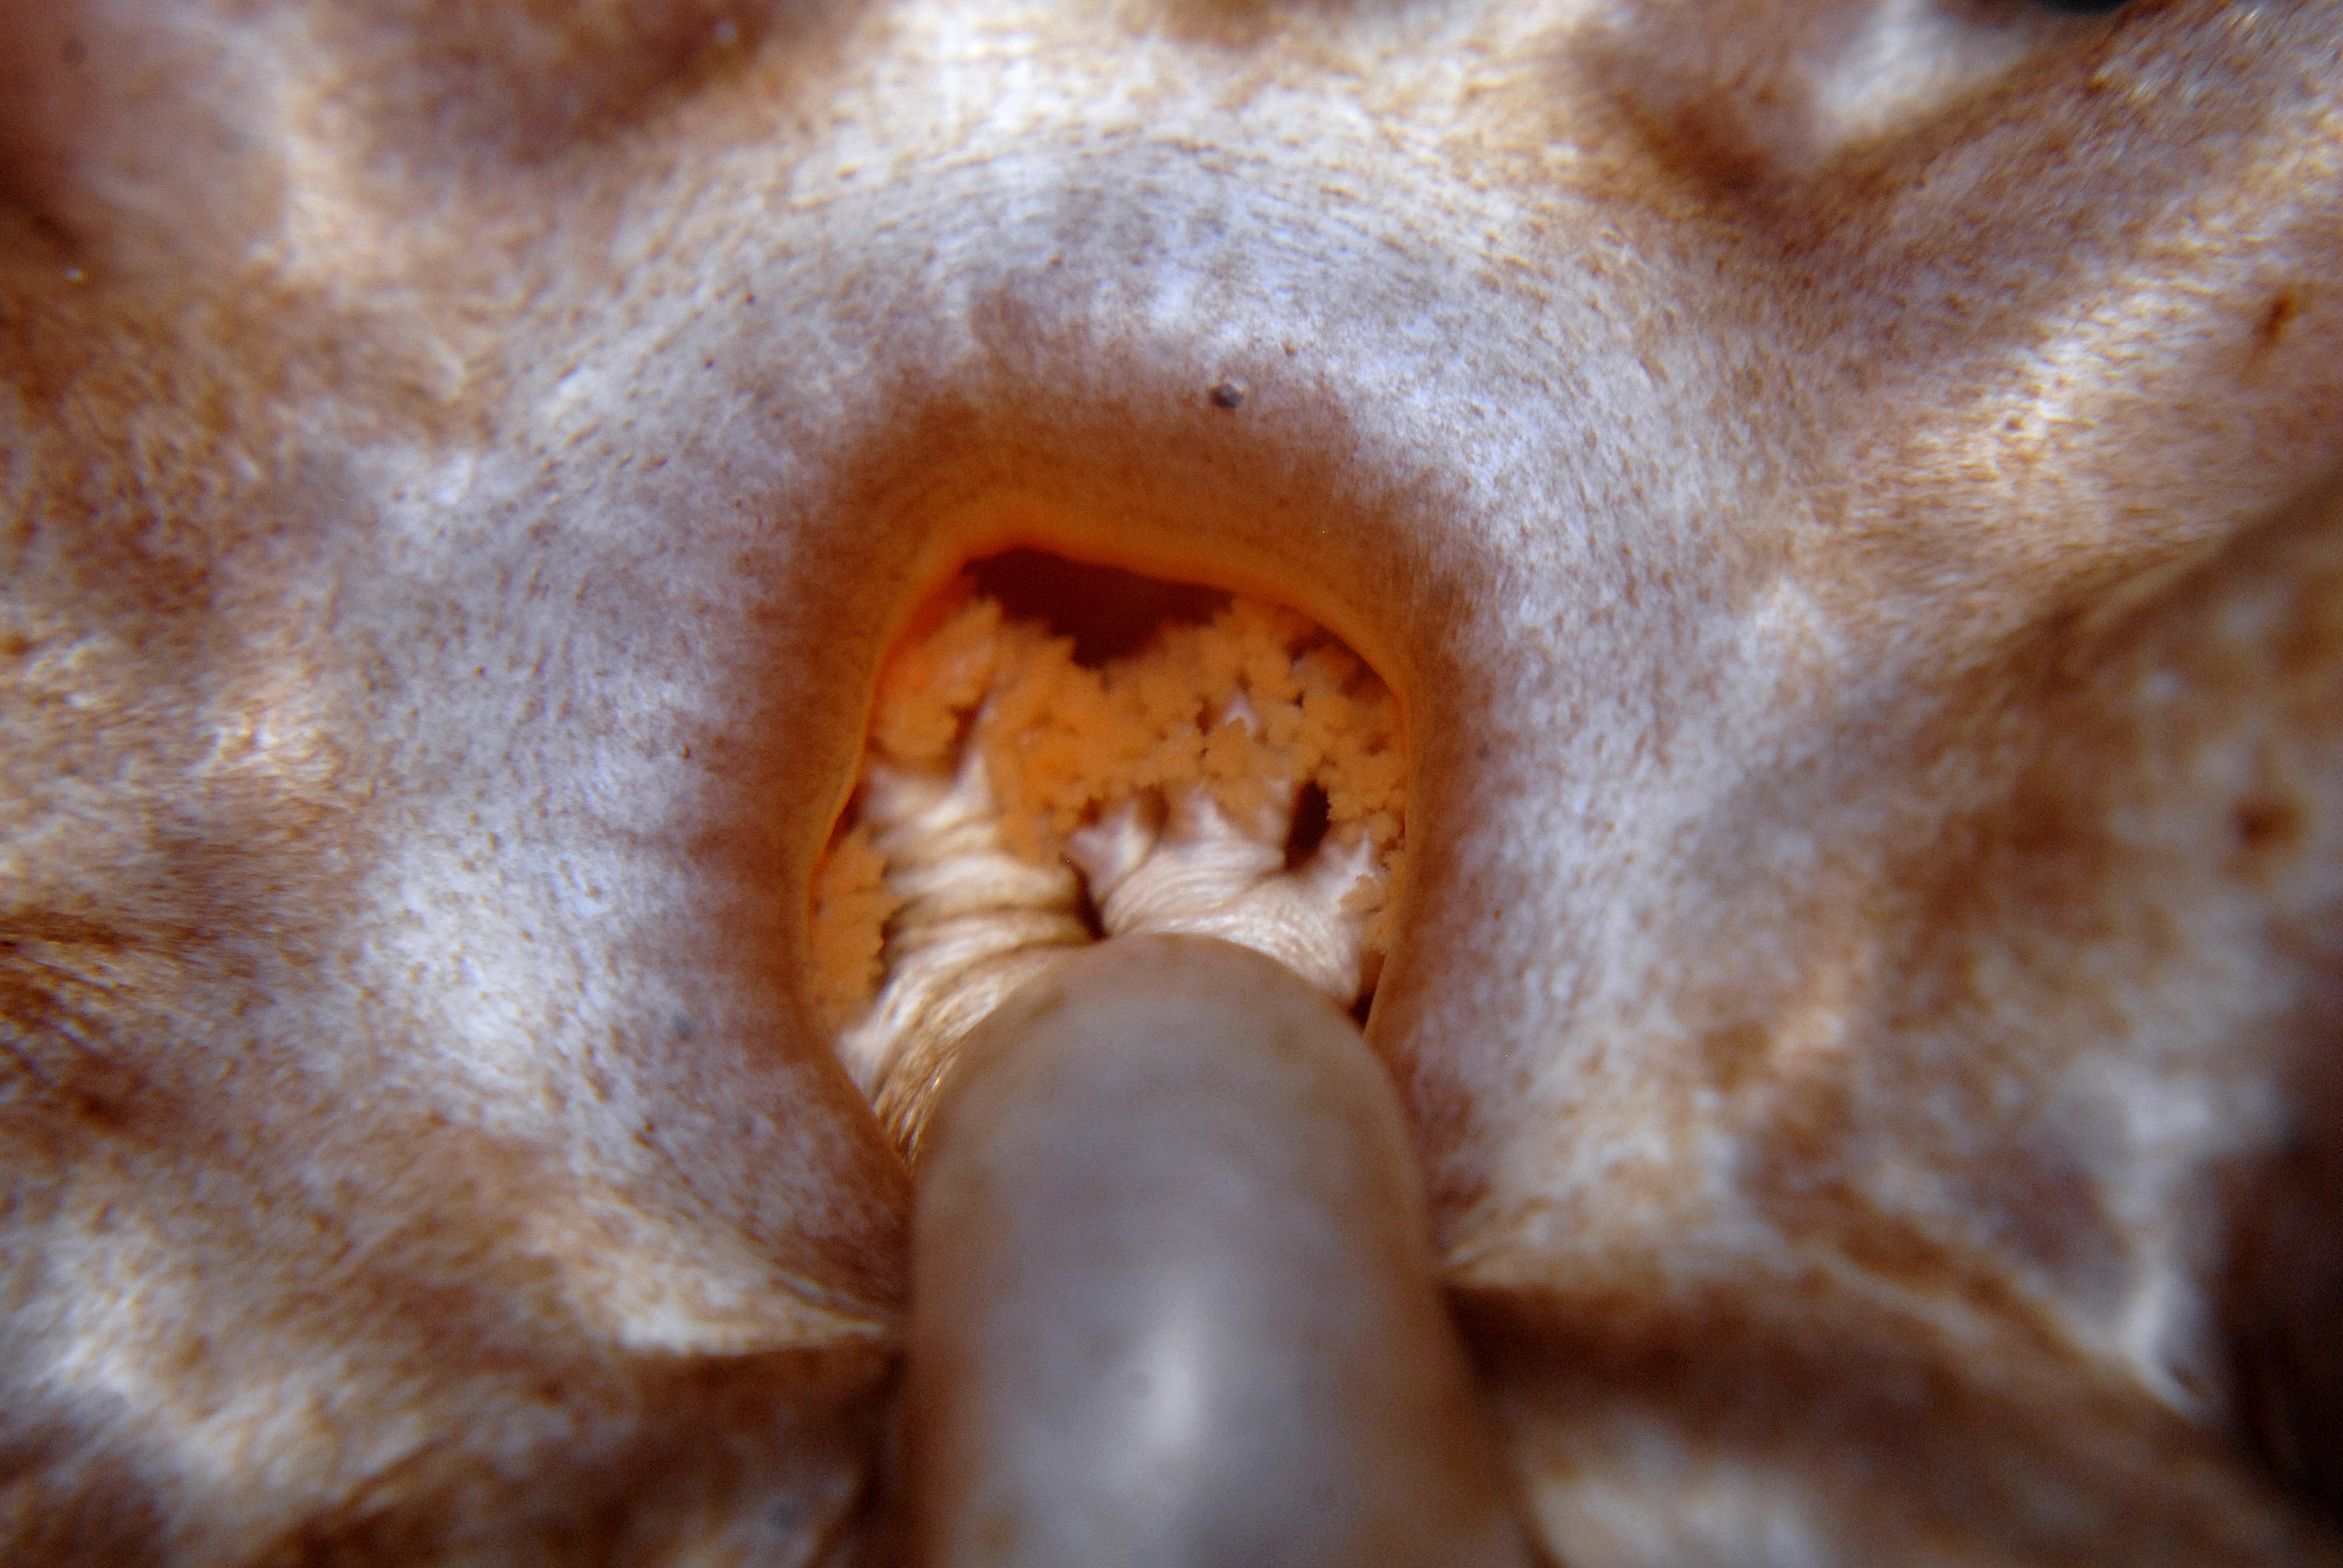
And this close up of the same sea cucumber, with a +10, and then cropped in, at ISO800 f/11 and 1/60.
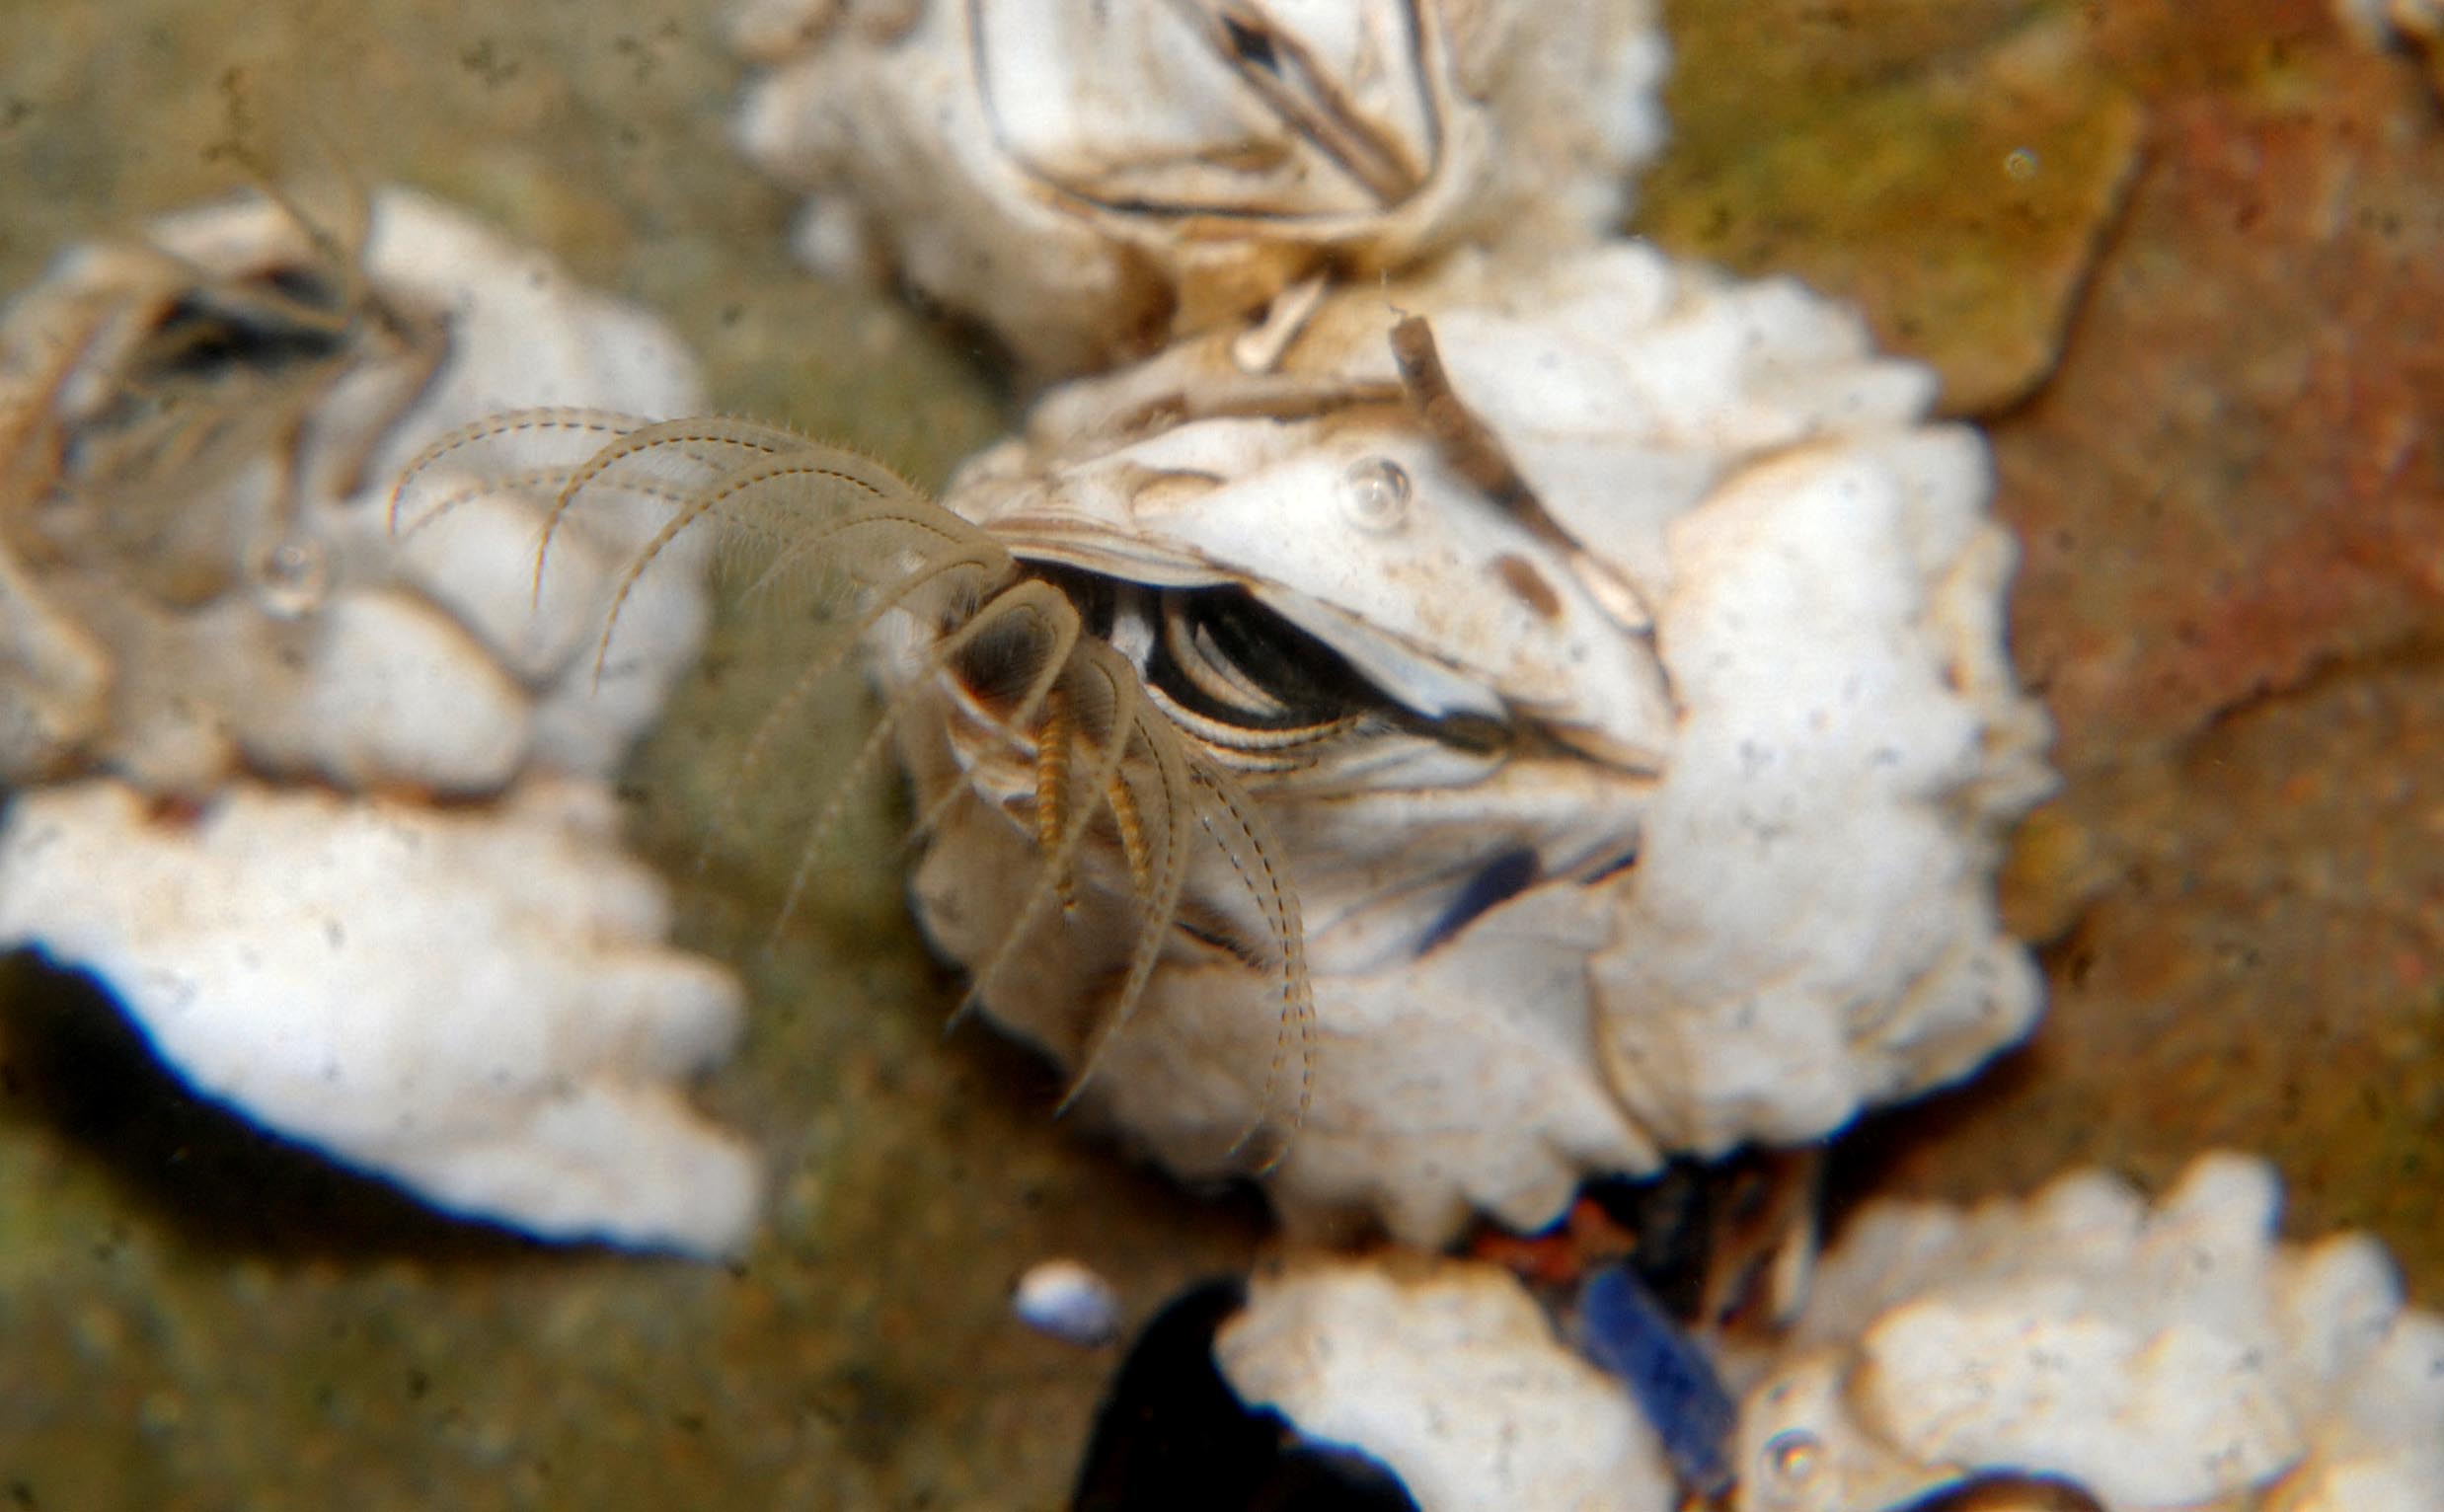
Because this feeding barnacle had some movement to it, I needed to increase the shutter speed to 1/125, and use f/11 and crop in after applying a +2 filter.
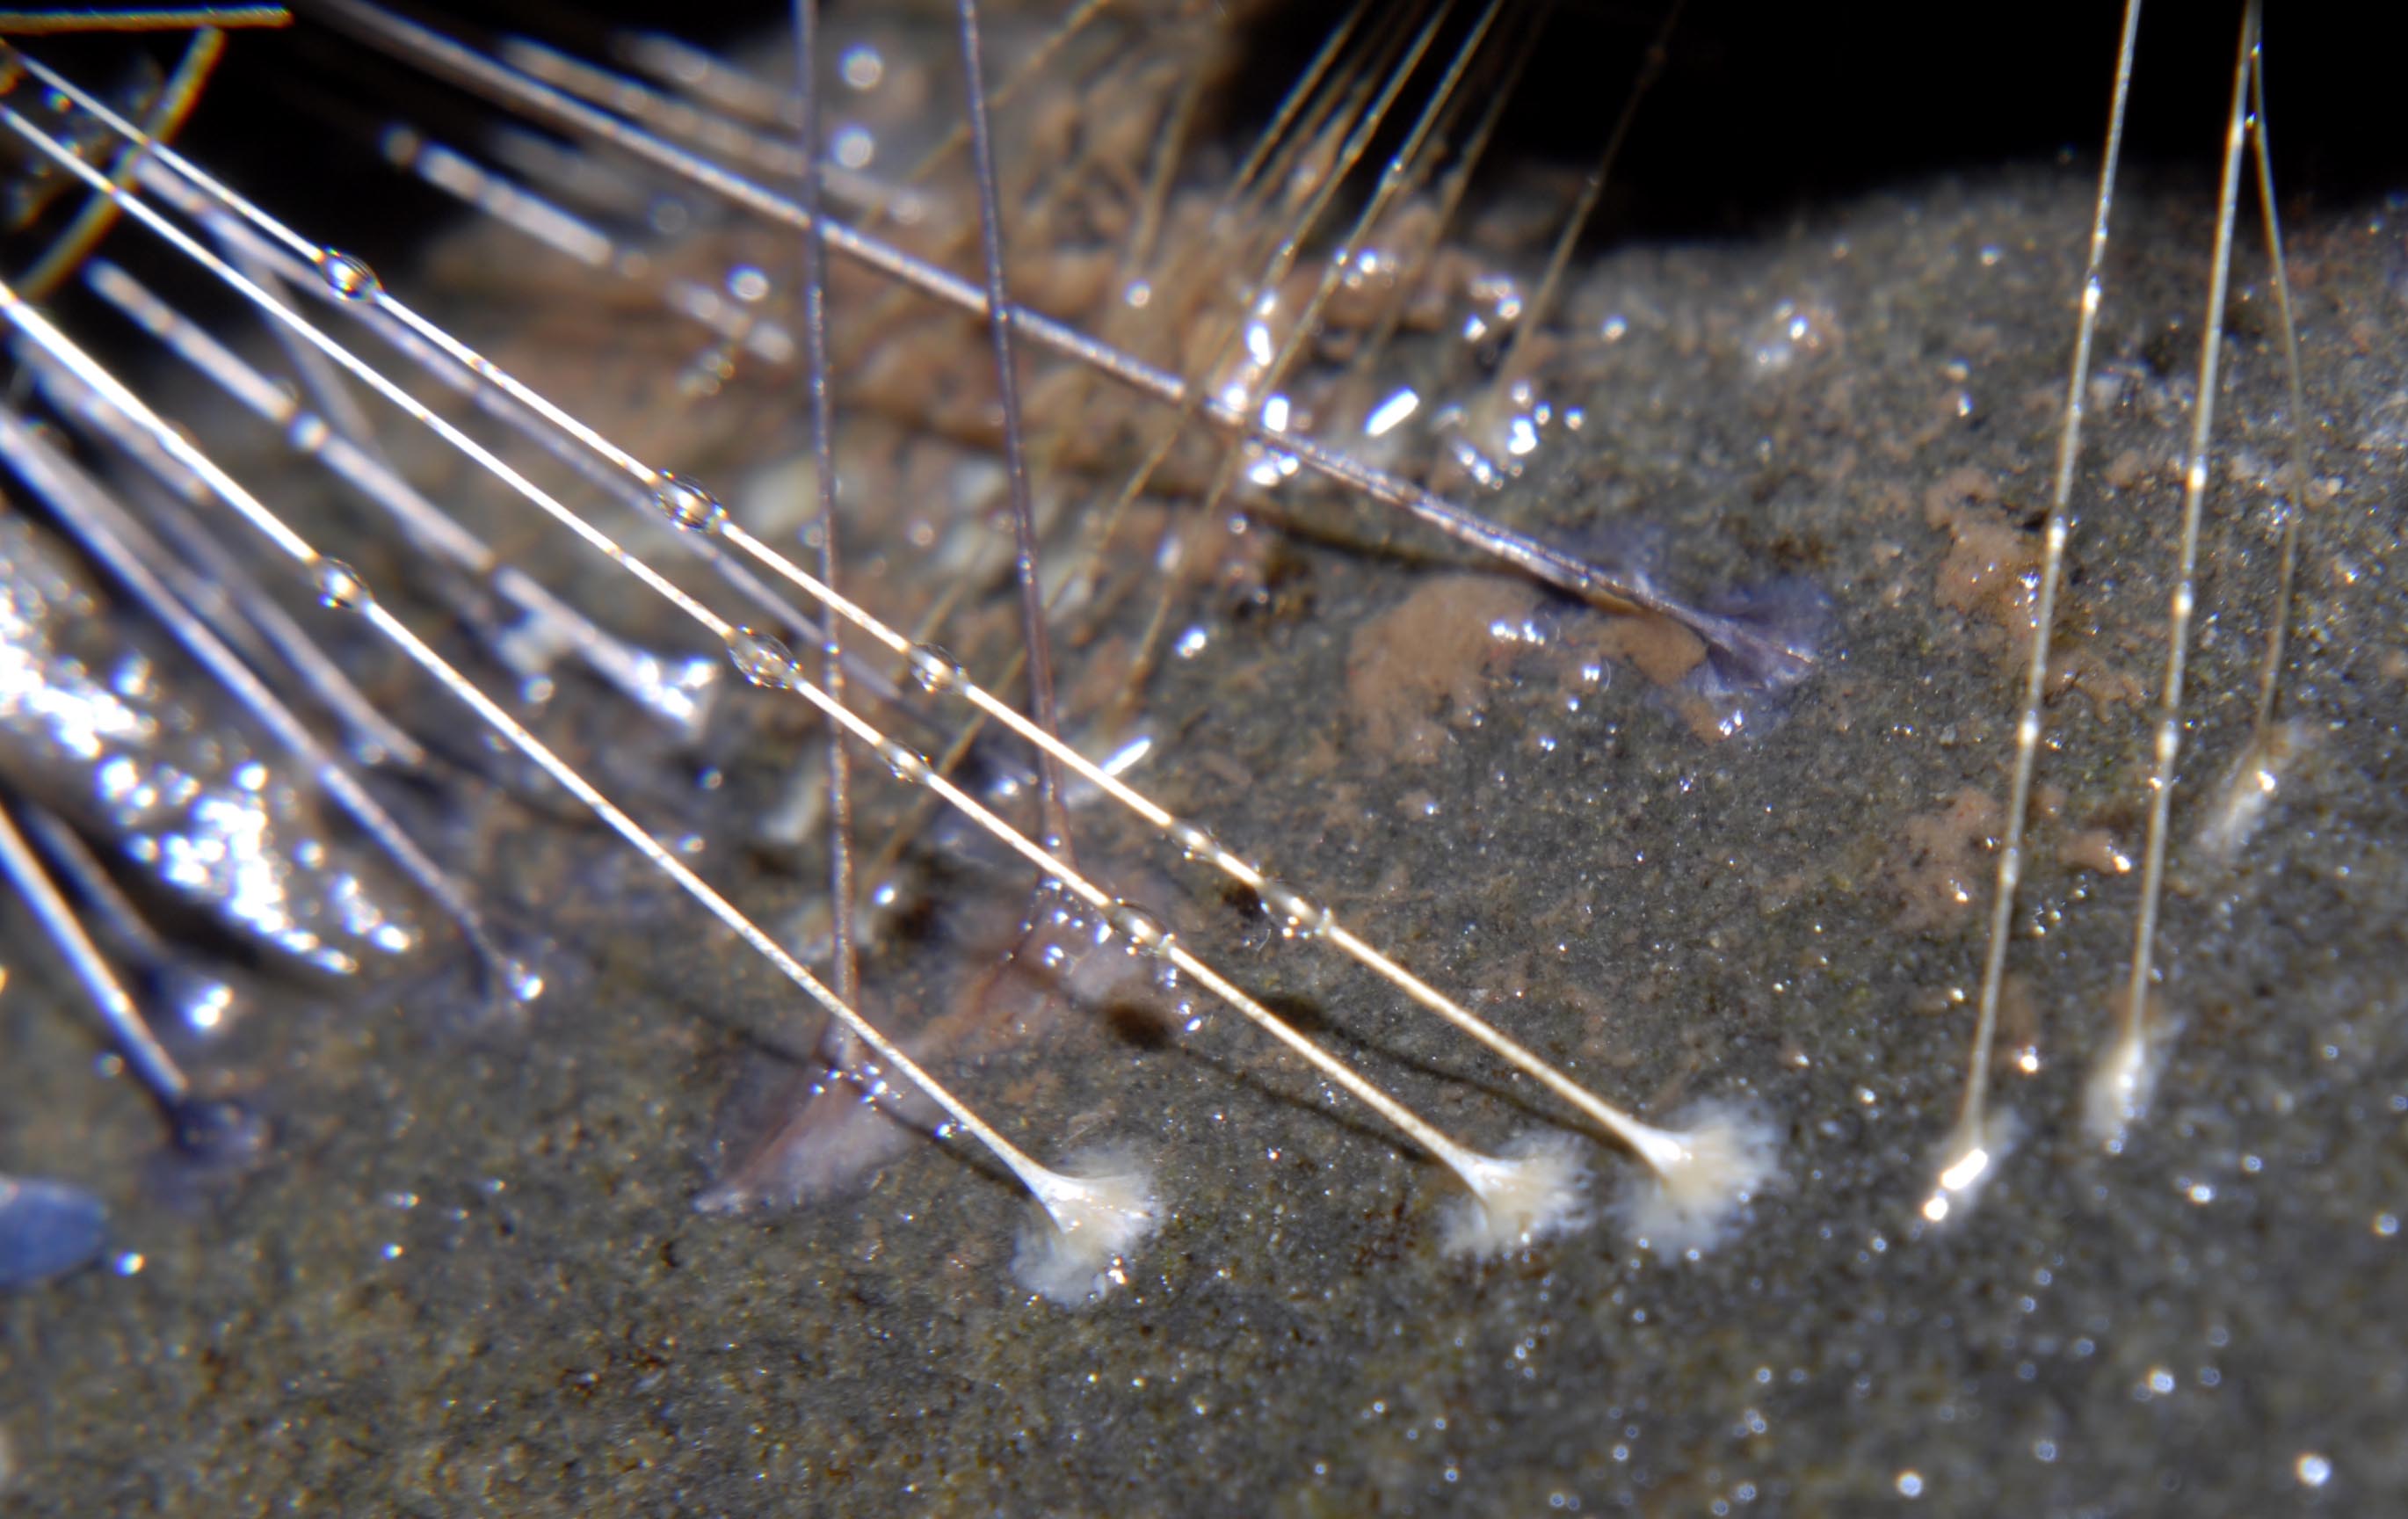
And if you really want to go crazy, here is the last image of this set, byssal threads of a mussel attached to rock, with three filters stacked, a +2, +4 and +10, only slightly cropped to remove the edges. It’s using ISO400, f/8, 1/60.
Next time, I’ll run through some tips on color correcting images, and a cool program that helps if you need a boost in size!