
Every once in a while you’ll take a photo of a fish, or creature in your aquarium, and be really pleased with the image. However, it may be that it’s a tad dark, or the colors don’t seem quite right.
One of the first things to consider when working with images is whether it’s in RGB or CMYK. You’ve probably seen them before, and not paid too much attention, but if you’re going to print images, you should know the difference. Basically, RGB is how your computer or a monitor shows color, by mixing red, blue and green to form the millions of colors you see. Printing, however, doesn’t work the same way, so your color is made up of a combination of four colors: Cyan, Magenta, Yellow and BlacK.
Unfortunately, when you switch from RGB to CMYK, some weird things can happen to the color. And I say unfortunately because as we’re talking about aquariums, it’s in the blues and greens that sometimes things go a bit strange. You can do some adjustments, and some of them take patience and time, however the good news is that most printers will accept your original image in RGB and do a good job of matching the colors. It’s only when you go to commercial printing that you’ll really have to pay attention to the difference and spend some time making sure your colors are true.
In general, it’s in the lightness and darkness that you’ll notice the biggest difference and want to make adjustments. You can simply auto-adjust the image, and it will do a decent enough job, but if you want your images to really come to life, it pays to treat them individually, and take a little time over them, in an image-editing program such as Adobe Photoshop.
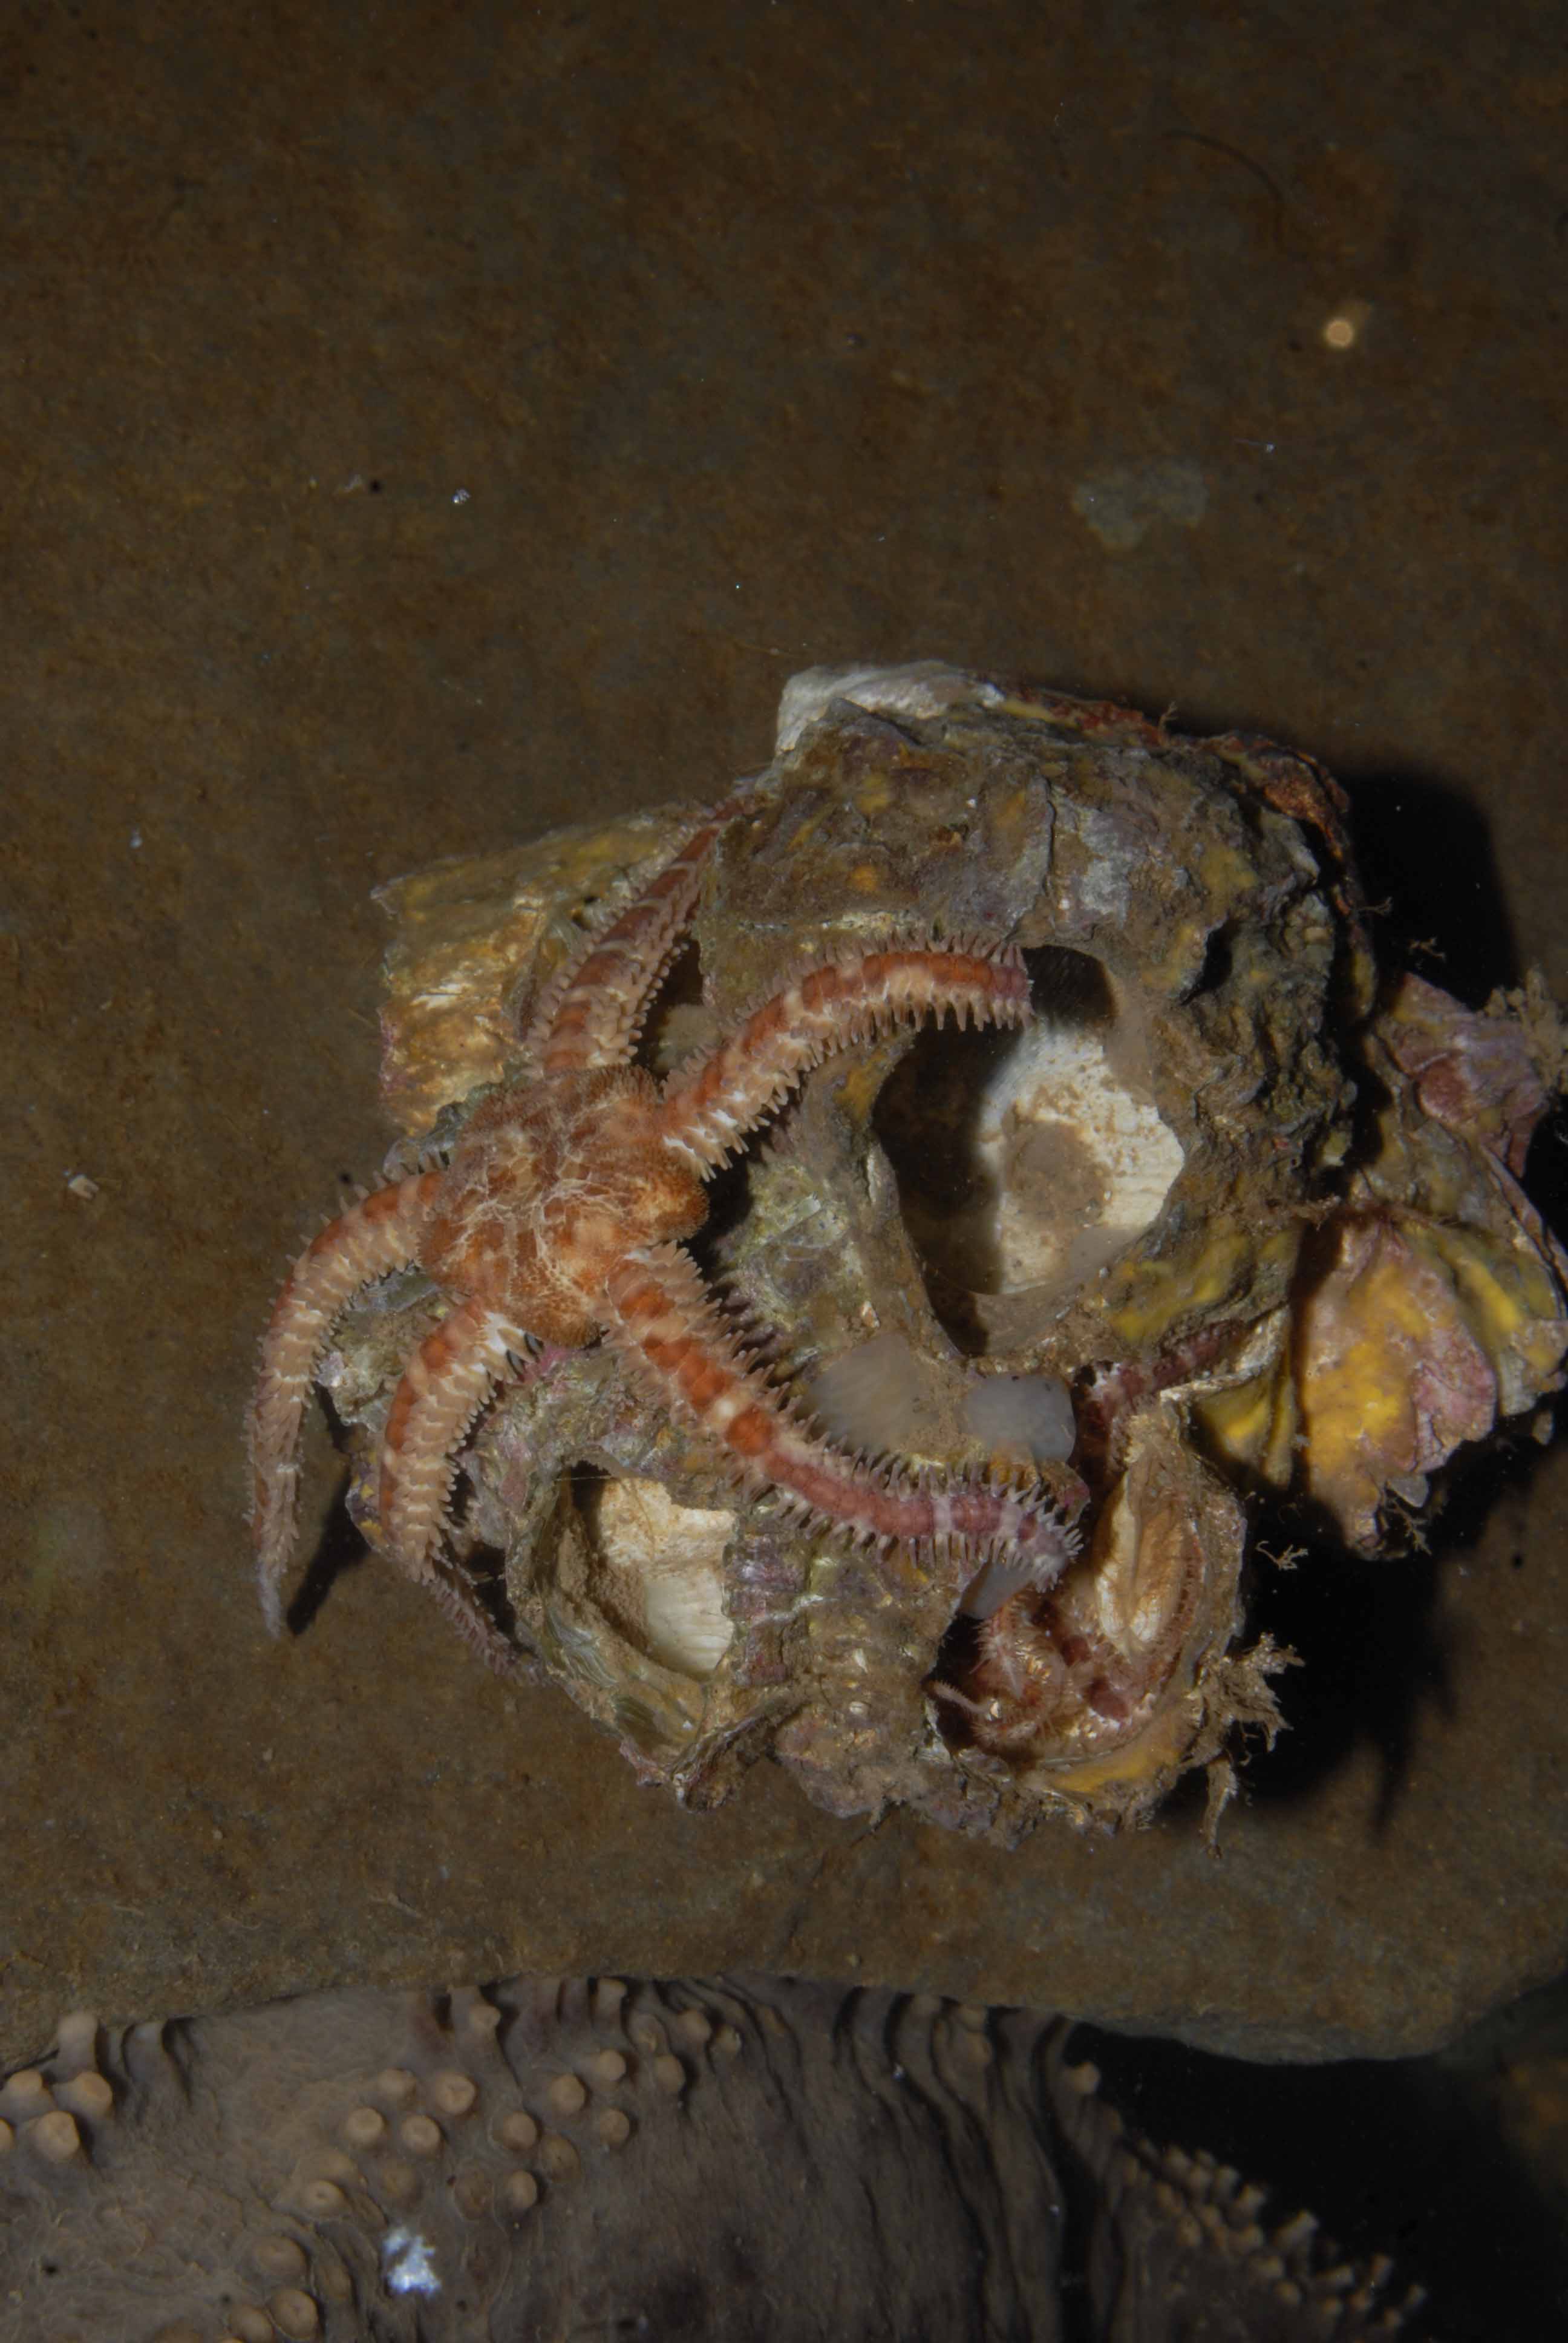
Here’s our original image of a brittle star. We think it’s a good one, or at least it’s going to be, but it’s definitely not perfect at this stage. It’s going to need a crop and some color correction.
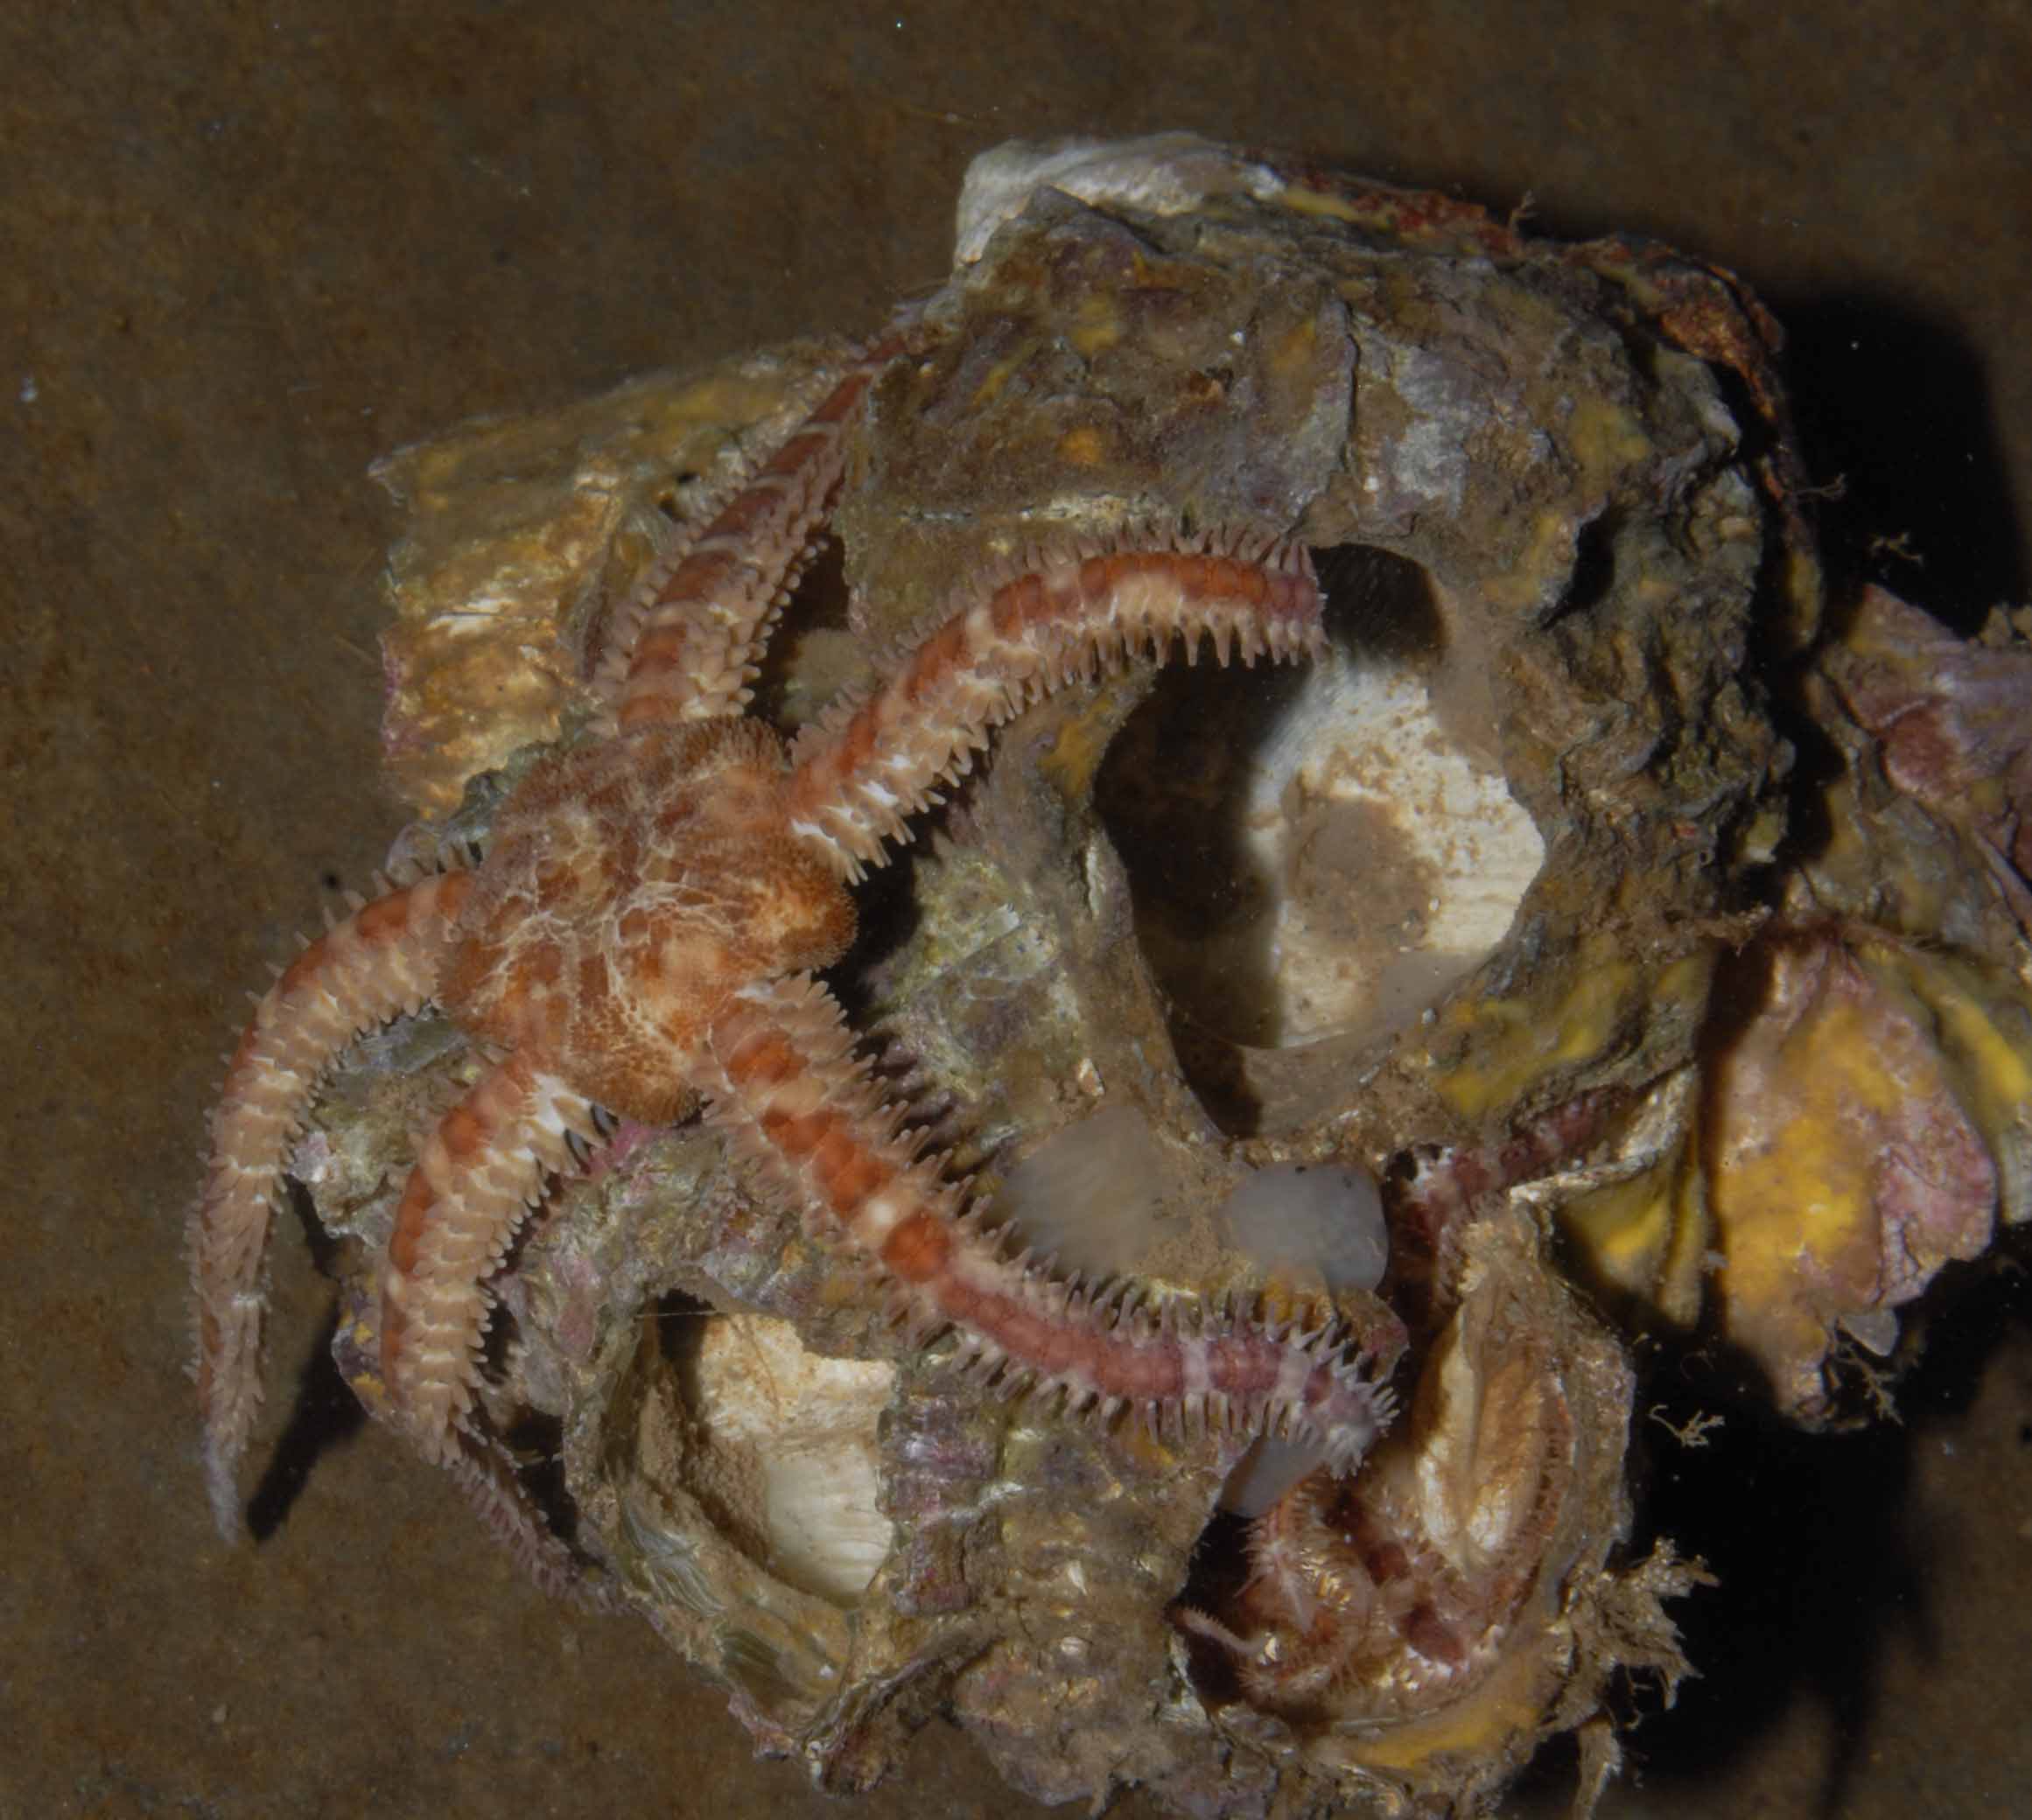
Now we’ve got rid of some of the background (below), it’s time to fix the color, as it’s a little dark. In Photoshop, you can use autolevels and get a decent result, or you can play for hours. However, a few quick steps will make a huge difference, and not everyone uses these simple methods to make their images shine.
First, we open levels, by going to Image>Adjustments>Levels. This is what you see:
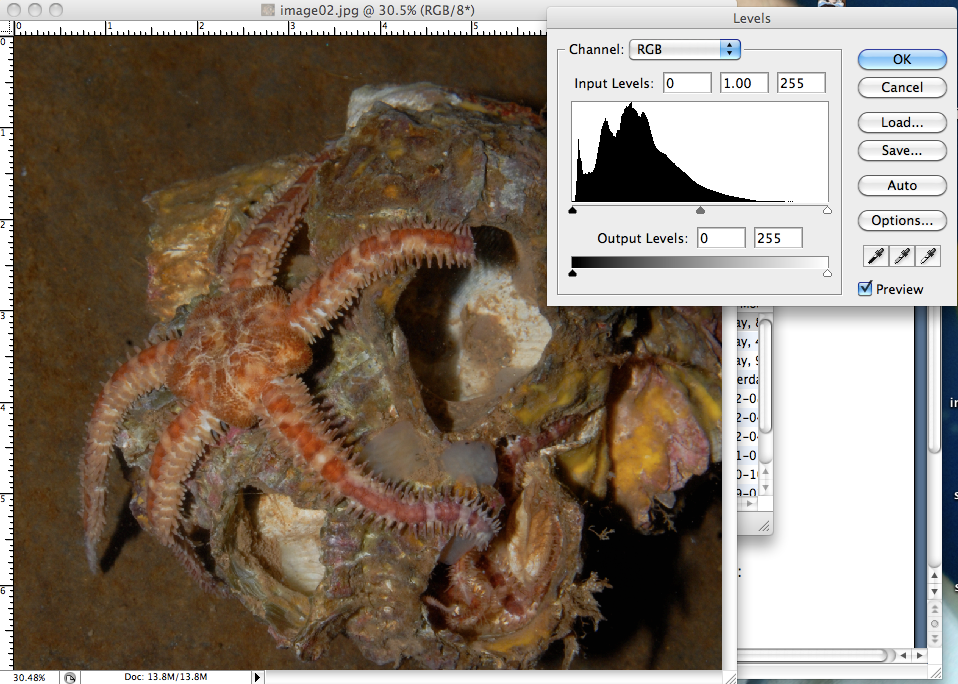
What we need to do first is to make the black vivid. It’s a step most people don’t bother with, or know about, but it really makes a difference, even though it’s only a subtle one.
Hopefully, you can see the video below, and follow these steps.
- Take the slider at the bottom left, and while you hold down the alt key, move it to the right until you start to see black in your image.
- Once you let go, you’re back to the original image, so now we need to adjust the color.
- Open each of the R G and B channels individually and move the arrow at the right, over to the left. Where there is no part of the graph, it means there’s no data, so you can safely move the slider to the left and lighten up the channel. You can stop when the solid graph starts, as seen in the video. Repeat these steps for each channel.
- Go back to the RGB and move the middle slider very slightly to the left. You can eyeball this until you are happy with the result, but it’s only a slight variation that lightens the entire image up by a very minor amount.
- If there is a hint of blurriness, do an unsharp mask, under Filter>Sharpen>Unsharp Mask. When your settings box opens, try a few different values. The higher the number, the more sharpening you’re doing, under 50 the result is subtle, above 150, you may start to see some aberrations. You can click on any part of your image to select that part of the image to see the effect of the sharpening. Clicking and releasing in this area of the box gives you a ‘before and after’ effect.
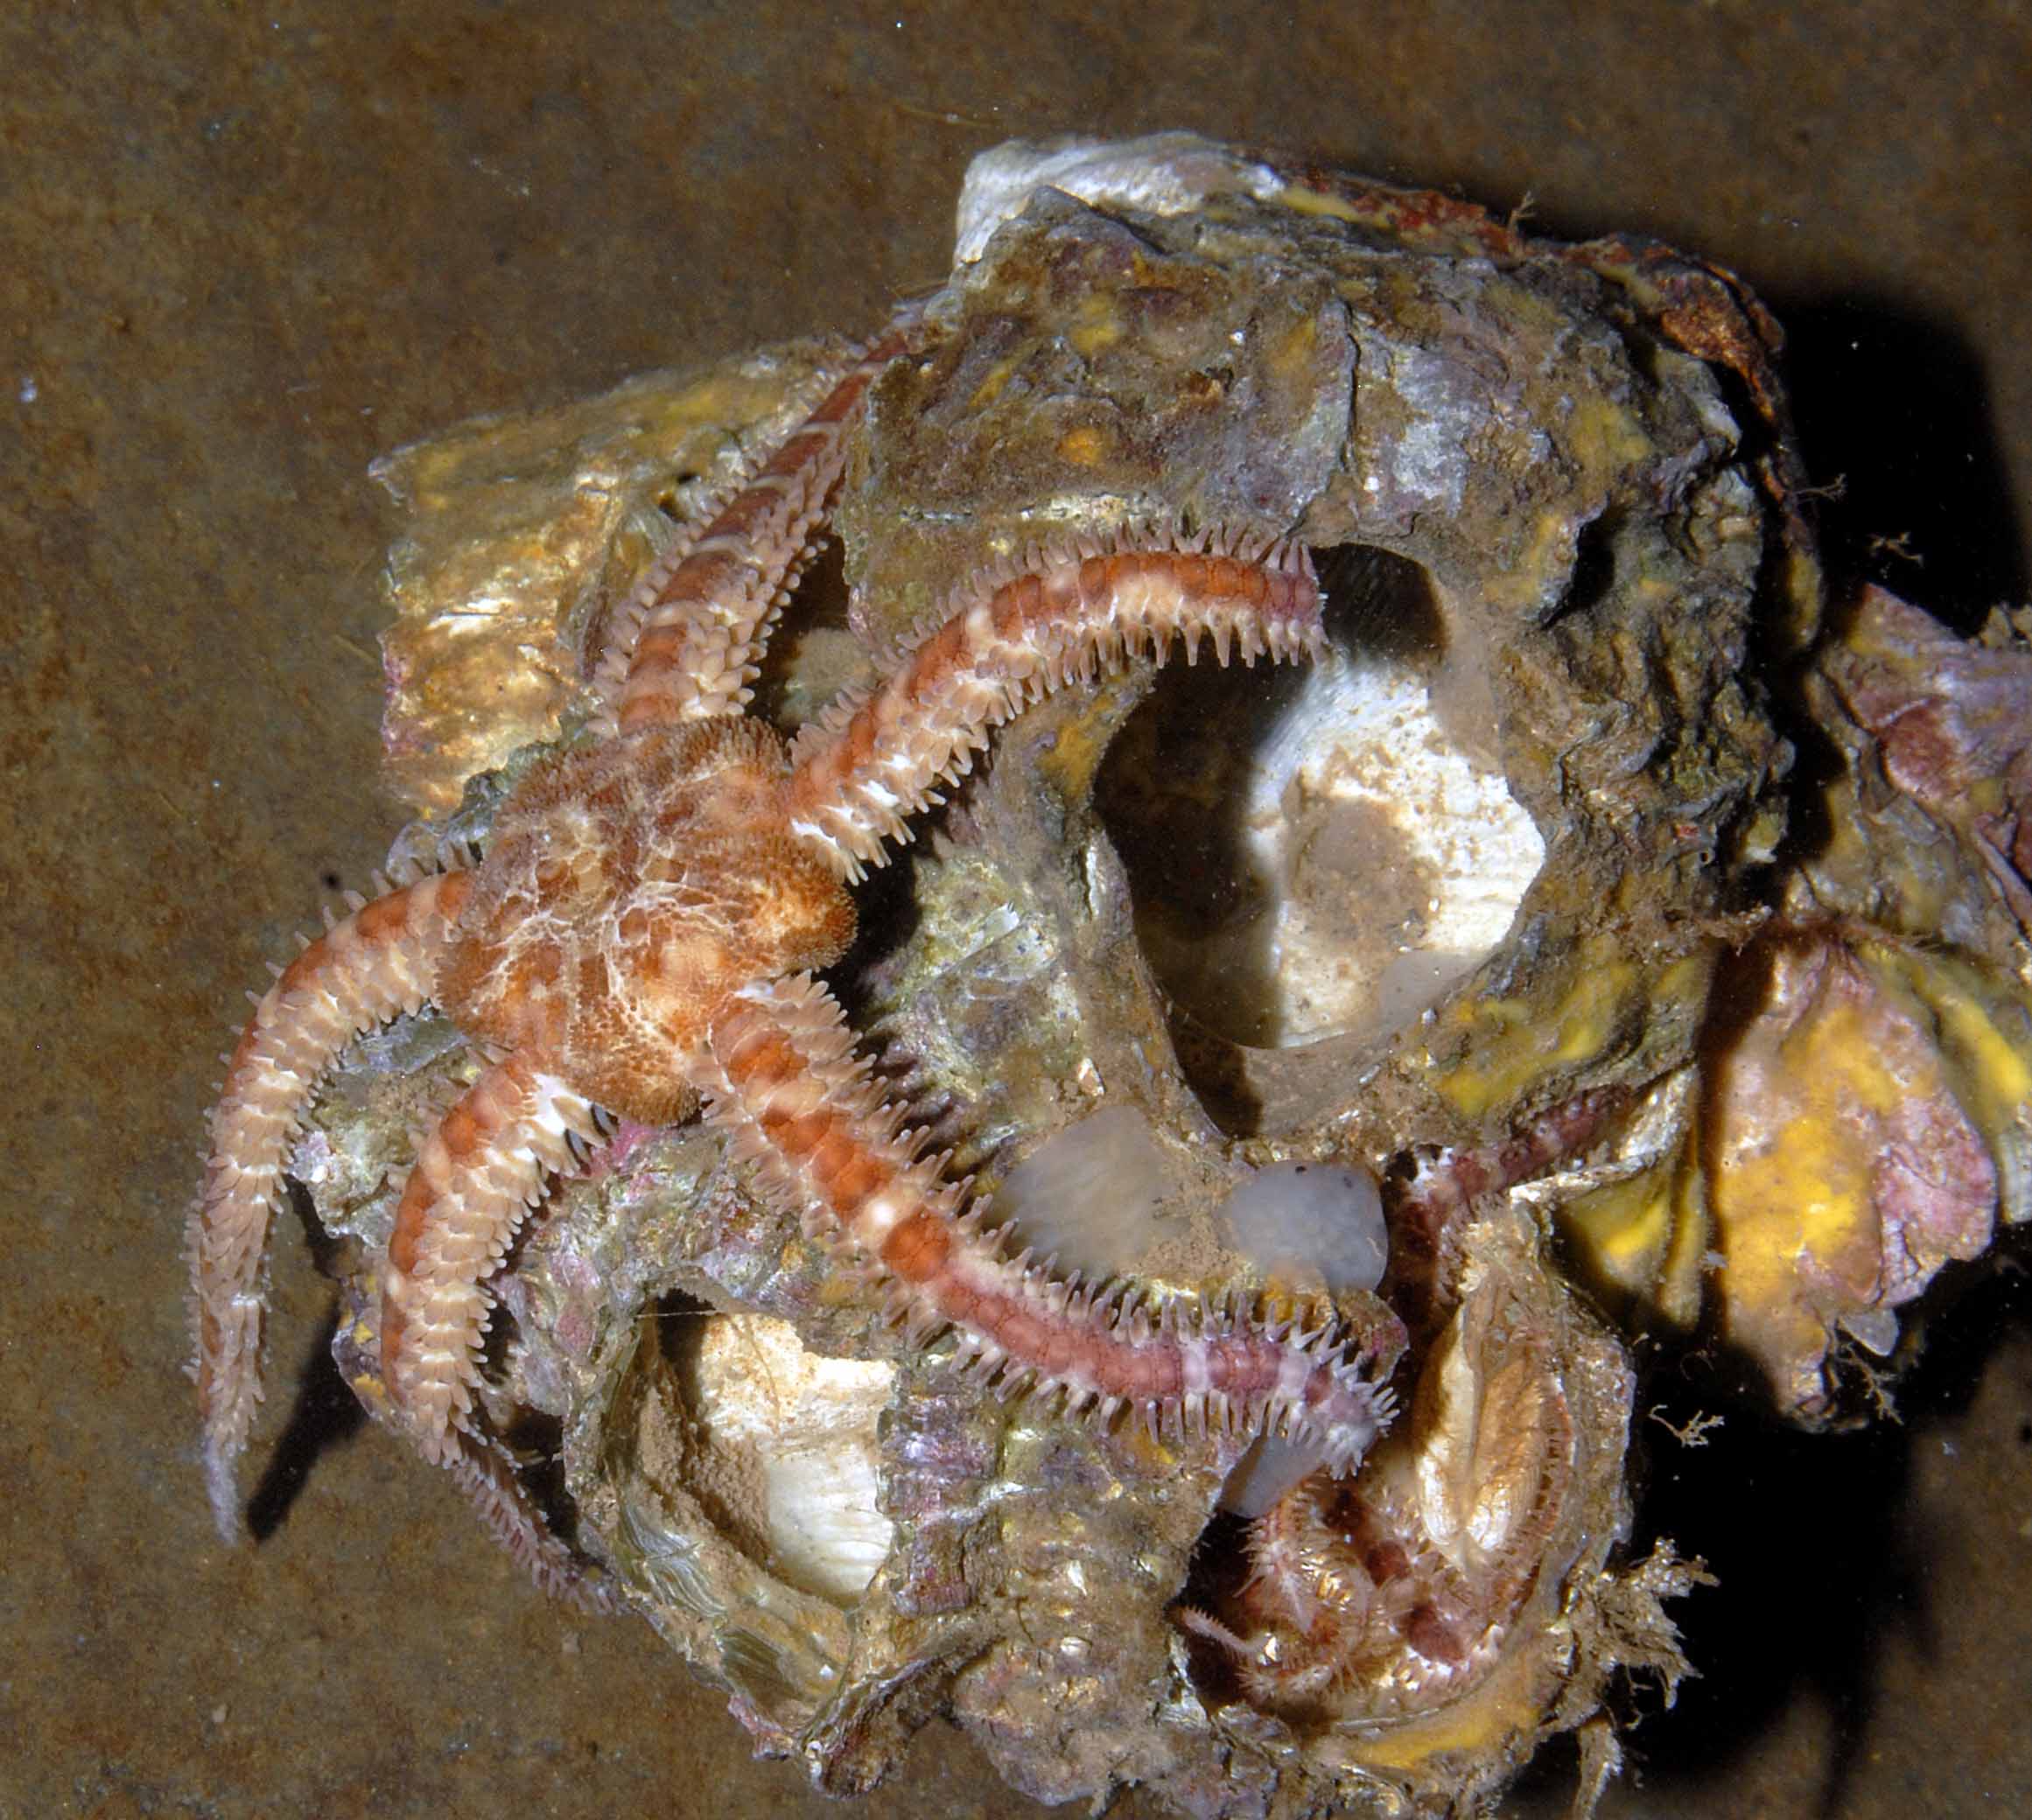
And here we have our completed and corrected image, which took only around a minute. Without a doubt, you can play with all kinds of settings, but in general this will work well and give you excellent results. So don’t discard images you think are great but dull, just fix them!
Any questions, ask away!